Initial words...
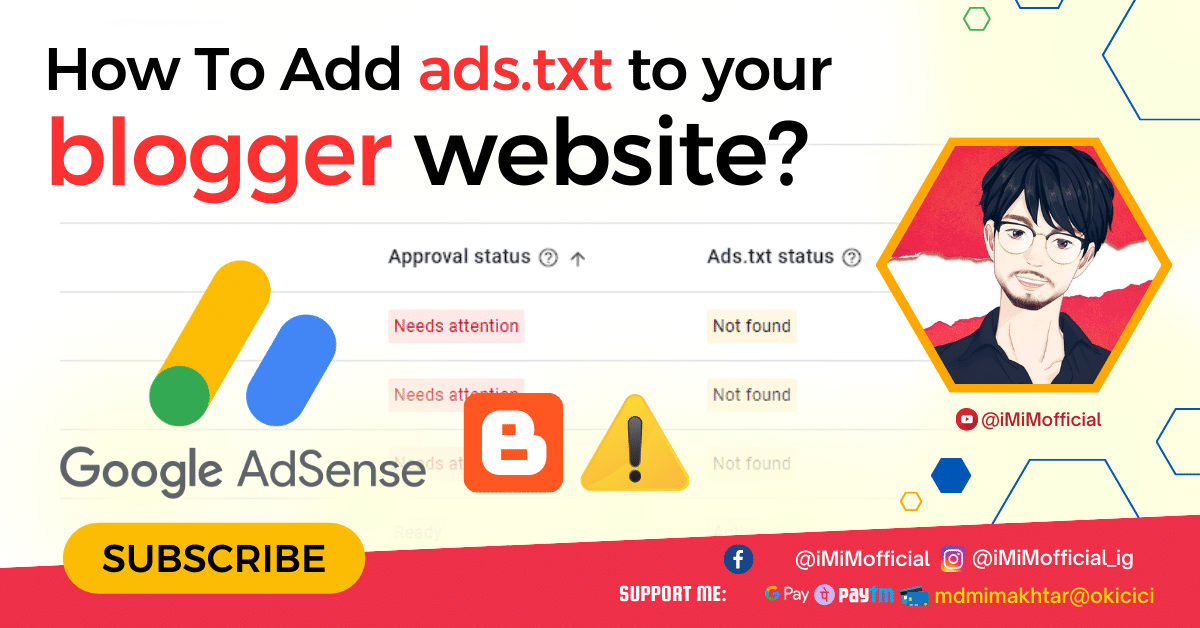
As a blogger using Google AdSense or other ad networks, it’s crucial to have an ads.txt file on your site. This file, which stands for Authorized Digital Sellers, helps prevent unauthorized sellers from misrepresenting your ad inventory. Implementing an ads.txt file is a simple yet important step to protect your revenue and maintain the integrity of your ads.
In this guide, I’ll walk you through the process of adding an ads.txt file to your Blogger website.
What is ads.txt?
The ads.txt initiative was introduced by the Interactive Advertising Bureau (IAB) to increase transparency in the programmatic advertising ecosystem. By creating an ads.txt file, you allow publishers to declare who is authorized to sell their digital inventory. This helps ad buyers to avoid counterfeit inventory and ensures that your ad revenue is not siphoned off by unauthorized sellers.
Steps to Add ads.txt to Your Blogger Website
Step 1: Log in to Your Blogger Account
The first step is to log in to your Blogger account. Go to Blogger and enter your login credentials. Once logged in, select the blog you want to add the ads.txt file to from your dashboard.
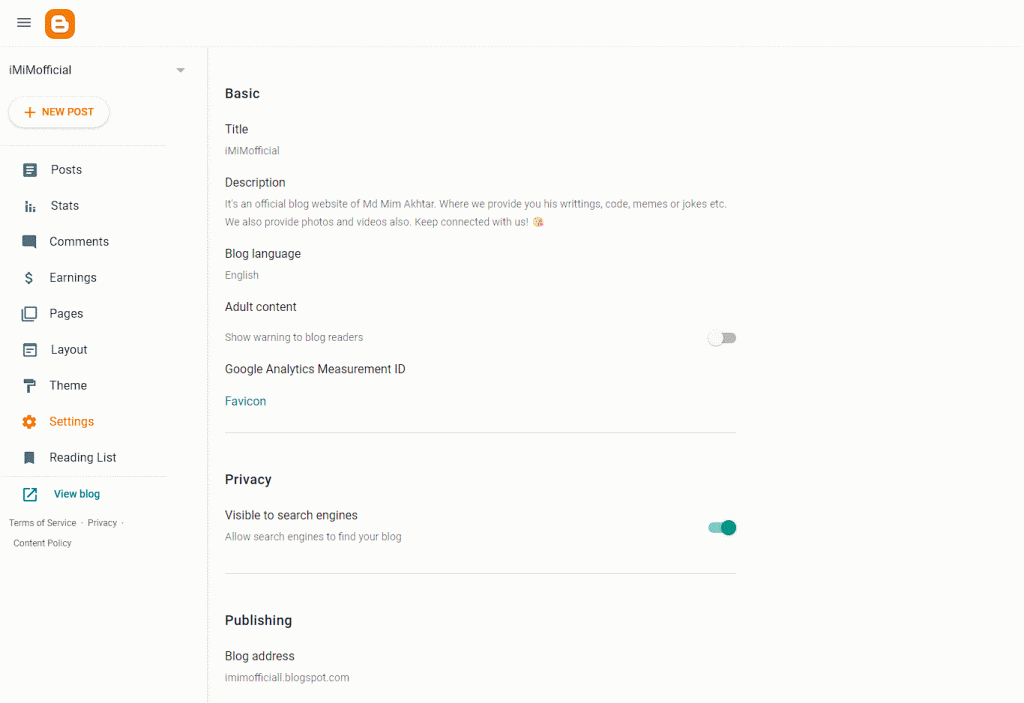
Step 2: Access the Settings
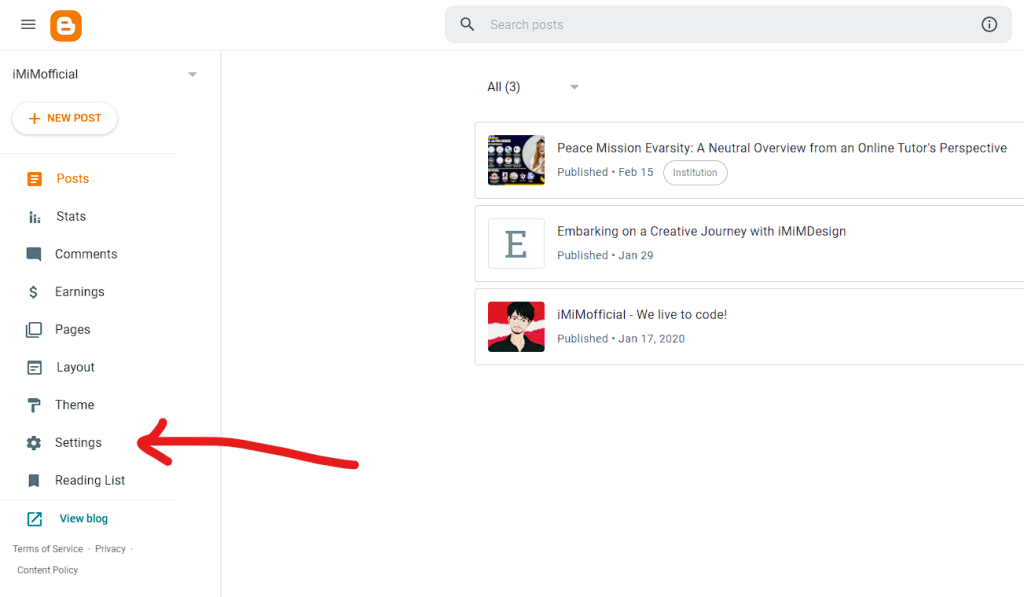
After selecting your blog, look at the left-hand menu and click on the Settings option. This will take you to the settings page where you can configure various aspects of your blog.
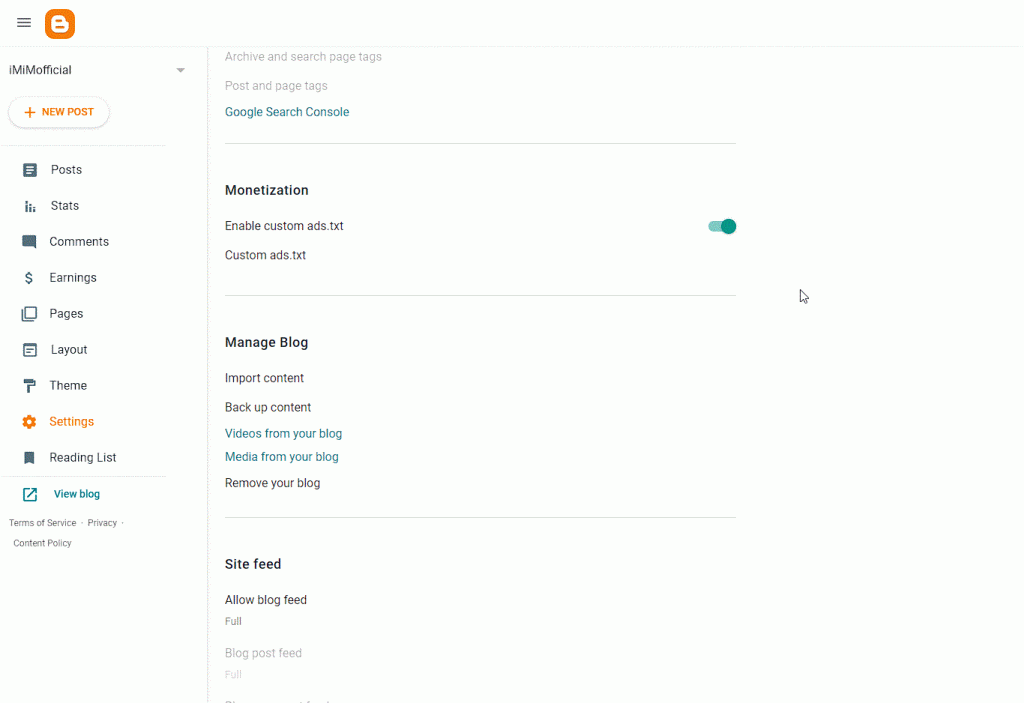
Step 3: Enable Custom ads.txt
Scroll down through the settings until you reach the Monetization section. Here, you will see an option labeled Enable custom ads.txt. By default, this option is turned off. Toggle this option to Yes to enable custom ads.txt.
Step 4: Add Your ads.txt Data
Once you enable custom ads.txt, a new field will appear where you can enter your ads.txt data. This data is typically provided by your ad network. For instance, if you are using Google AdSense, your ads.txt data might look something like this:
google.com, pub-0000000000000000, DIRECT, f08c47fec0942fa0
Copy the provided ads.txt data and paste it into the newly appeared field. If you can’t find the ads.txt file then you can copy the above code as well but make sure to replace the pub-id with your own actual publisher ID. You can find your pub-id always in your Adsense dashboard URL.
Step 5: Save Your Changes
After entering the ads.txt data, click the Save button. This step is crucial as it ensures that your changes are applied.
Step 6: Verify Your ads.txt File
To verify that your ads.txt file has been correctly added, open a new browser tab and enter your blog’s URL followed by /ads.txt. For example: yourblogname.blogspot.com/ads.txt
You should see the content you added displayed on this page. If it appears correctly, then you have successfully implemented the ads.txt file.
Video: How to Add ads.txt to Your Blogger Website
Common Questions and Troubleshooting
What if I don’t see the ads.txt option in my settings?
If the option to enable custom ads.txt does not appear in your settings, ensure that you are logged into the correct Blogger account and that you have selected the correct blog. If the problem persists, consider reaching out to Blogger support for assistance.
Can I add multiple lines to my ads.txt file?
Yes, you can add multiple lines to your ads.txt file if you are using multiple ad networks. Each network will provide its specific ads.txt line, which you can add to the file. Ensure that each entry is on a new line.
How often should I update my ads.txt file?
It’s a good practice to update your ads.txt file whenever you add a new ad network or change any of your existing ad network credentials. Regularly check with your ad networks for any updates or changes to their ads.txt requirements.
Conclusion
Adding an ads.txt file to your Blogger website is a straightforward process that can have significant benefits for your ad revenue. By following the steps outlined in this guide, you can ensure that your ad inventory is protected from unauthorized sellers and that your ads are being sold through legitimate channels.
If you found this guide helpful, consider sharing it with other bloggers and stay tuned for more tips and tutorials on optimizing your blog.
Happy blogging!